Guides • April 30, 2026
How to Convert Text to Handwriting Online
Follow a step-by-step text-to-handwriting workflow covering source text, styles, paper, A4 or Letter sizing, realistic variation, preview, and export.
Written by admin · Updated August 29, 2026
How to Convert Text to Handwriting Online
This tutorial explains how to prepare source text, choose readable page settings, troubleshoot crowded output, review page breaks, and select the right export format. It is for people who want to understand the workflow rather than simply open the converter.
Start with clean text, then use the HandwritingTool converter to test handwriting, paper, ink, spacing, margins, A4 or Letter sizing, and PDF or image export. The steps below explain what each decision changes, where problems usually appear, and how to correct them before downloading.
For project-specific ideas such as recipe cards, journal layouts, and design mockups, use the separate creative handwritten-pages guide. To compare products before choosing one, read the 2026 text-to-handwriting tools comparison.
What Text-to-Handwriting Conversion Means
A handwriting generator renders digital text with handwriting-style glyphs. A full handwriting tool also calculates how those glyphs fit into lines and pages. It manages the baseline, page margins, line spacing, word spacing, ink color, and paper background before producing a downloadable file.
That distinction matters. A handwriting font inside a document editor may be enough for a short label. A browser-based page converter is more useful when you need:
- A lined, blank, or graph-paper page
- A4 or Letter page dimensions
- Consistent margins across several pages
- A live preview that matches the export
- A printable PDF or individual PNG/JPG pages
HandwritingTool uses the second approach. Your text and settings are laid out and rendered on page canvases in the browser. The tool does not train a model on your handwriting or reproduce your own handwriting.
How HandwritingTool Works
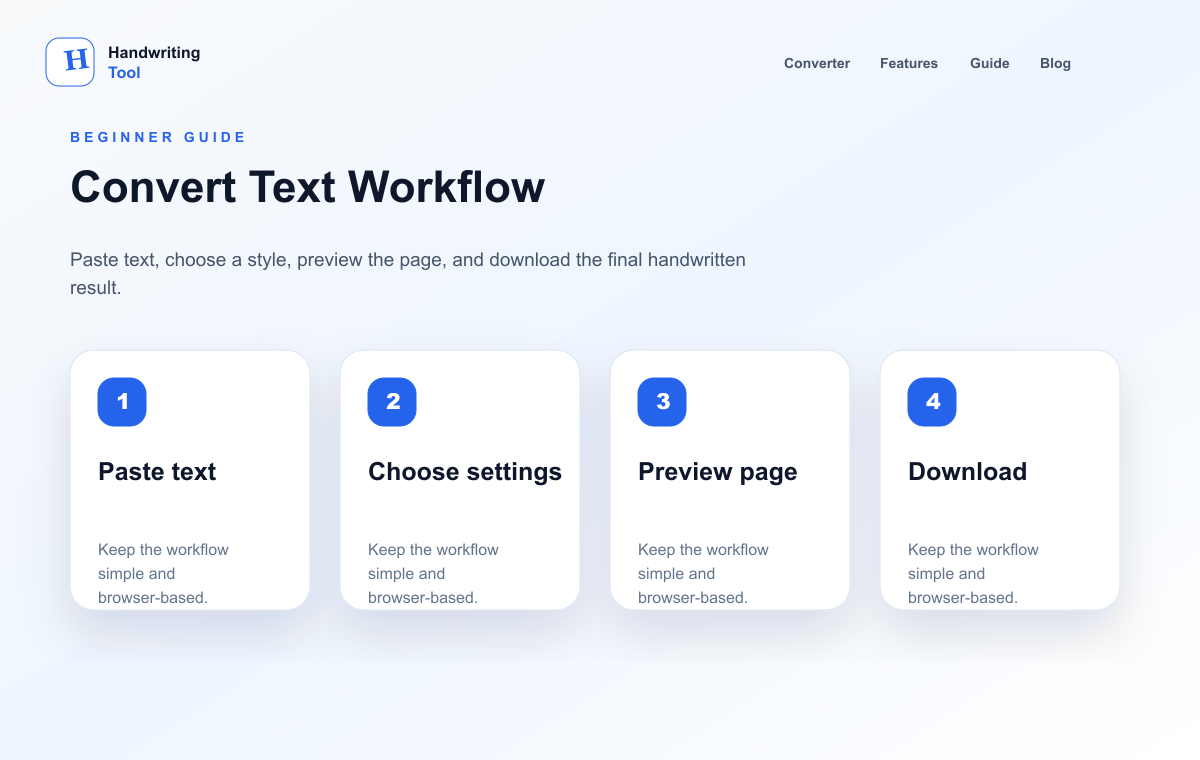
The converter follows five practical stages:
- Text input: you type or paste plain text into the editor.
- Style and layout: the selected handwriting style, font size, spacing, margins, paper, and ink settings define the page.
- Line wrapping: the renderer measures each word and moves text to a new line when it reaches the usable page width.
- Page rendering: content is drawn on one or more browser canvases with small position, size, and angle variations.
- Export: the rendered pages are downloaded as a PDF, PNG, or JPG.
The main converter accepts typed or pasted text. If the source is a modern Word document, the Word-to-handwriting DOCX workflow can extract editable plain text locally in the browser. If the source is a text-based PDF, the dedicated PDF upload tool detects its page count and can extract all pages, one page, ranges, or page lists. Scanned PDFs still require separate OCR, and neither importer preserves the original visual layout.
Step-by-Step: Convert Typed Text into Handwriting
1. Prepare the source text
Edit the words before styling them. Remove repeated spaces, page numbers, copied headers, and formatting artifacts. Split long blocks into short paragraphs and use concise headings when the reader needs to scan the page.
For a long document, work in logical sections. The editor warns when the estimated page count becomes large, but it does not impose an arbitrary short limit. Smaller sections are easier to preview and less likely to exceed the memory available to a phone or older computer.
2. Open the converter and paste the text
Go to the main converter and enter the text in the editor. The word count and estimated page count provide early guidance. The preview is produced locally in the browser, so you can change settings without uploading the handwriting text to a HandwritingTool application server.
3. Choose a handwriting style
Choose the style for the reading task, not only for its appearance. Clear print-like handwriting works best for paragraphs, study notes, worksheets, and multi-page documents. More expressive or cursive styles are better reserved for short notes, headings, cards, or visual mockups.
Repeated letters will still come from a defined set of glyphs. Handwriting variation changes position, size, and angle slightly, but it does not create a unique human pen stroke for every character.
4. Select the paper
- Lined paper supports normal paragraphs, classroom notes, and revision sheets. The lined-paper guide explains how line height and the writing baseline work together.
- Blank paper suits letters, journal layouts, quotes, cards, and clean design drafts.
- Graph paper adds visual structure for lab records, planning pages, and text-based math notes. See the graph-paper workflow.
The grid does not understand equations or draw diagrams automatically. It is a page background; prepare formulas and supporting visuals separately when necessary.
5. Choose A4 or Letter size
A4 is the common 210 × 297 mm international format. US Letter is 8.5 × 11 inches and is common in North America. Select the size that matches the paper or document you will use at the end.
If printing is the goal, the A4 handwriting settings guide covers margins, scale, and test-printing in more detail. Avoid changing the printer dialog to a different paper size after export because automatic scaling can shift the apparent margins.
6. Set ink, size, spacing, and margins
Blue and black provide the most familiar contrast. Darker ink is safer for basic printers. Use medium font size for normal reading, then adjust the page rather than forcing more words into tiny handwriting.
The controls affect different parts of the layout:
| Control | What it changes | Practical starting point |
|---|---|---|
| Font size | Glyph height and words per line | Medium for paragraphs |
| Line spacing | Distance between baselines | Slightly open for long pages |
| Word spacing | Space added after each word | Natural or modest |
| Top margin | Space before the first line | Enough for a calm page opening |
| Side margins | Usable line width | Wider for printing and annotations |
| Variation | Position, size, and angle differences | Low to moderate for readable text |
If the page feels crowded, shorten the source text, add paragraph breaks, or increase the page count before reducing the font too far.
7. Review every preview page
Check the whole page at a glance, then check the text closely. Look for:
- Headings stranded at the bottom of a page
- Paragraphs that should be split
- Ink with weak contrast
- Text sitting too close to an edge
- A decorative style that slows reading
- Unexpected characters that the selected style cannot represent clearly
The preview is the place to correct layout. A different handwriting style cannot compensate for poor source structure.
8. Export as PDF, PNG, or JPG
Choose the format for the next task:
- PDF keeps multi-page output together and is usually best for printing, archiving, and sharing a stable page layout. Read the focused handwriting PDF export guide.
- PNG preserves sharp detail and is useful for a single page in a presentation, design, or web workflow.
- JPG is convenient when a smaller image matters more than maximum edge quality.
For an important print job, export one page first and print a test copy. Check page size, contrast, line spacing, and margins before producing the whole document.
How to Make the Output Look More Realistic
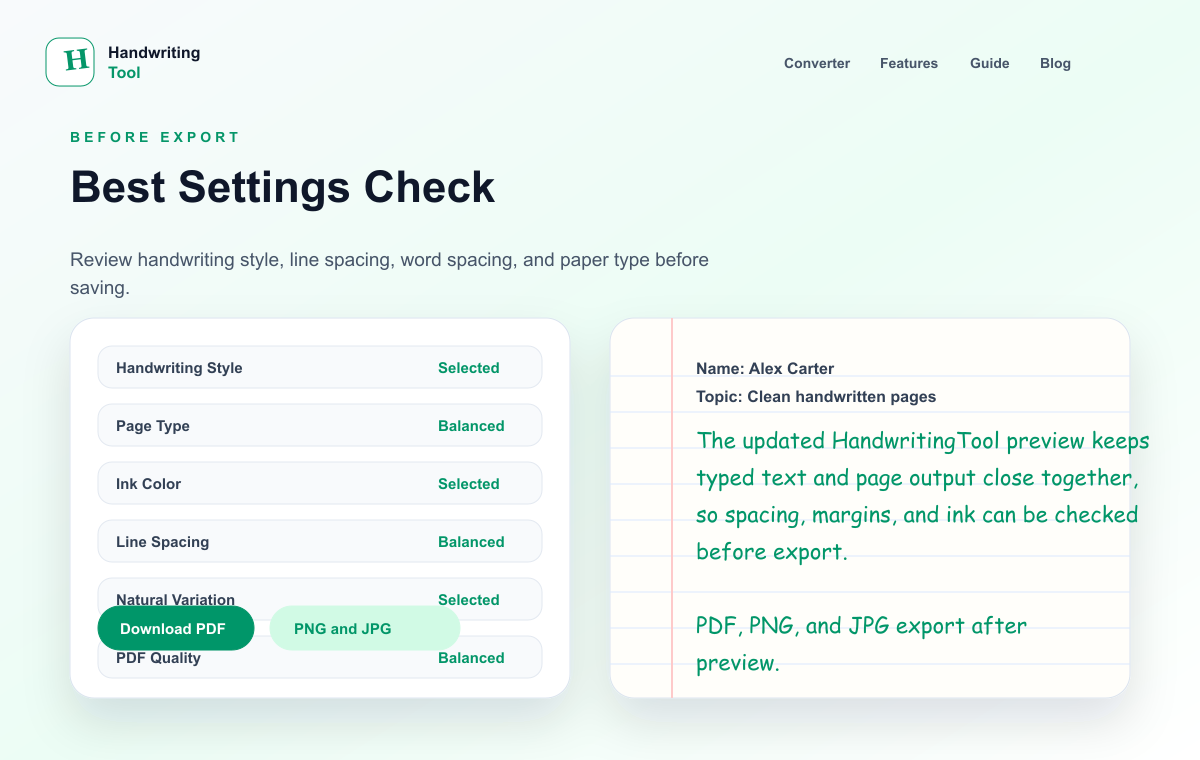
Realism comes from the relationship between text, glyphs, baseline, spacing, and page layout—not from choosing the fanciest style.
- Use short paragraphs with natural breaks.
- Keep variation subtle enough that the baseline remains readable.
- Leave white space around headings and page edges.
- Use blue or black ink with sufficient contrast.
- Match paper to the task instead of using texture as decoration.
- Avoid perfectly filling every available line.
- Preview at the size the reader will actually see.
The realistic handwriting guide provides a deeper checklist for letter spacing, line rhythm, margins, and ink choices.
Useful Workflows
Printable and creative pages
Writers and creators can prepare journal inserts, fictional letters, recipe cards, quote pages, stationery previews, and design mockups. Keep the source copy final and choose PNG when a page will be placed inside another design.
Teaching examples and worksheets
Teachers can create example notes, worksheet snippets, writing prompts, and classroom visuals. Use a highly readable style, comfortable spacing, and PDF export. The output should support the lesson, not disguise who completed assessed work. For practice sheets learners write on themselves — traceable letters, names, and words — use the handwriting worksheet generator instead.
Handwritten study notes
For revision notes, organize the information before conversion: one topic heading, several key points, a short example, and a recap. The dedicated handwritten notes guide covers A4 layout, lined paper, headings, and printing.
Paper templates
If you need blank printable paper or a settings reference rather than converted text, use the free templates library. It includes lined paper, graph paper, a practice sheet, and a settings guide.
Common Problems and Practical Fixes
The page looks crowded
Break the source into shorter sections, increase line spacing slightly, or allow another page. Do not solve every density problem with a tiny font.
The handwriting looks too uniform
Increase variation modestly and check the preview. Excessive variation can make the baseline unstable and reduce readability.
The writing does not align well with ruled paper
Adjust font size and line spacing together. A glyph’s visual baseline must sit comfortably relative to the ruled line; changing only one control can make the mismatch worse.
The PDF or image export fails
Large documents and high-resolution canvases can exceed browser memory. Retry, lower PDF quality, export the current page, or split the text into smaller sections. The tool shows a visible error when rendering or export cannot finish.
Copied Word or PDF text looks messy
Paste plain text, remove headers and footers, repair broken lines, and recreate headings with simple text. HandwritingTool does not preserve Word styles or PDF page structure automatically.
Some symbols look different
Available glyph coverage depends on the selected handwriting style and browser font rendering. Review punctuation, mathematical symbols, and non-Latin text carefully. The site does not promise support for every language or script.
Current Tool Limitations
HandwritingTool is a text-to-page renderer, not a document-understanding or handwriting-cloning service. Its focused importers extract editable plain text, but it currently does not:
- Read legacy
.docfiles, scan images with OCR, or preserve the visual layout of PDF and DOCX files - Summarize notes or automatically structure a document with AI
- Generate a font from your own handwriting
- Interpret equations, diagrams, or images
- Guarantee complete glyph coverage for every language and symbol
- Reproduce the natural pen pressure and unique motor variation of real handwriting
These limits are important when choosing the workflow. Copying clean text into the converter is supported; claiming that the tool understands the original document is not.
Privacy and Browser-Based Processing
The text used for handwriting rendering is processed in your browser and is not sent to a HandwritingTool application server for conversion or storage. The site still uses analytics, hosting, security, and related third-party services that may process technical or usage information. The contact form sends the information entered there to its form provider.
Read the privacy policy for the distinction between handwriting-text processing and website telemetry. Avoid entering passwords, payment details, medical records, or other sensitive information into any online service unless you have assessed the full environment and your obligations.
Responsible Use
Use generated pages for your own notes, drafts, examples, worksheets, journal layouts, creative projects, and authorized document previews. Do not use the output to misrepresent authorship, forge a signature or record, impersonate another person, or bypass school, workplace, legal, or platform rules.
The responsible-use policy explains the boundary in more detail. When authorship matters, disclose that the page was generated from typed text.
Frequently Asked Questions
What is the easiest way to convert text to handwriting online?
Paste clean text into the HandwritingTool converter, choose a readable handwriting style, select paper and page size, adjust spacing and margins, review the preview, and export as PDF or an image.
Is a handwriting tool different from a handwriting generator?
The terms often overlap. “Generator” usually emphasizes the handwritten-looking text, while “tool” or “converter” can describe the complete workflow of input, page layout, preview, and export.
Can I upload a PDF or Word file?
Yes, through the focused workflows. Upload a modern .docx on the Word-to-handwriting page, or upload a selectable-text PDF in the PDF-to-handwriting tool. Legacy .doc and scanned/image-only PDFs are not supported.
Can the tool copy my own handwriting?
No. It uses the available handwriting styles and controlled variation; it does not learn or clone an individual’s handwriting.
Which paper should I choose?
Use lined paper for normal notes, blank paper for clean layouts and creative pages, and graph paper when a grid supports structured or technical content.
Is A4 better than Letter size?
Neither is universally better. Choose A4 for workflows using international paper dimensions and Letter when that is the printer or document standard you need.
Which export format is best?
Use PDF for multi-page printing and stable document layout, PNG for sharp single-page graphics, and JPG when a smaller image is more convenient.
Does HandwritingTool store the text I convert?
The handwriting text is rendered in the browser and is not stored by a HandwritingTool application server. Analytics, hosting, security, and other third-party services may still process technical or usage data as described in the privacy policy.
Next Steps
Start with the browser converter. For a focused workflow, use the Word DOCX converter, PDF-to-handwriting converter, lined-paper generator, graph-paper generator, or handwritten notes generator. For deeper guidance, continue with the A4 page guide, realism checklist, or templates library.